Every form in Oracle E- Business suite has the below menu and shortcut icons. This article focuses on explaining the most frequently used menus and shortcuts in Oracle Apps.
Let’s get started then …
New Icon: 
This icon is used to create new records in the form. Alternately you can also create a new records by going to File > New
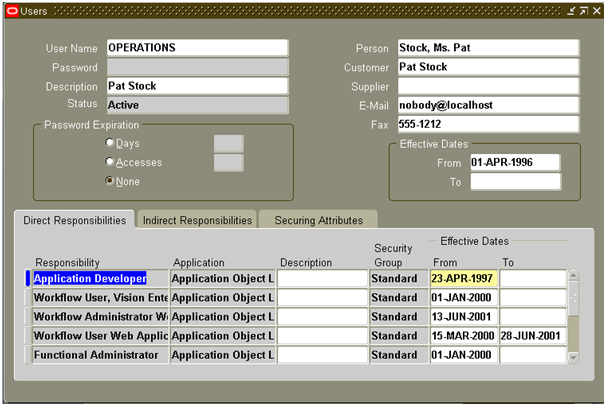
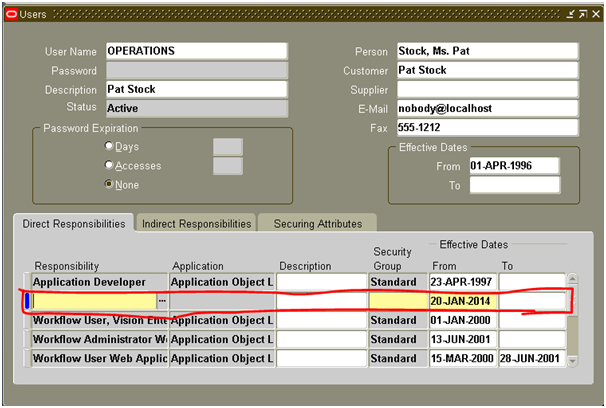
Say you want to add new responsibility to user OPERATIONS. Open the Users form ad query for the user Operations.
To add a new responsibility to this user, click the New Icon. This will create a new line in the responsibility tab where you can key in the responsibility details.
Save Icon: 
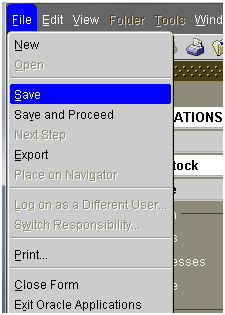
This is used to save the work you have done so far in the form. The save icon looks like the one highlighted in the below screenshot.
In the above example of adding responsibility to user, after entering the responsibility, you have to click on Save Icon only then the responsibility will be added to the user.
You can also save by going to File > Save.
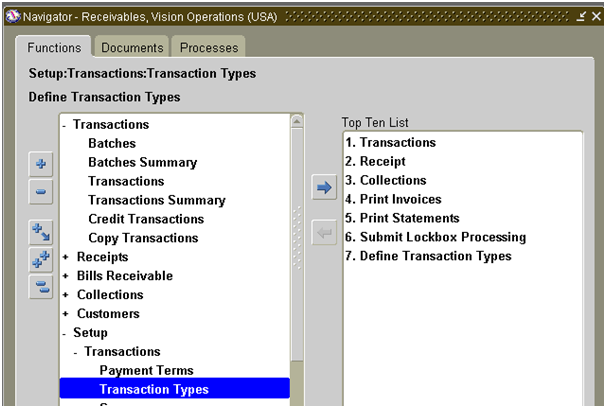
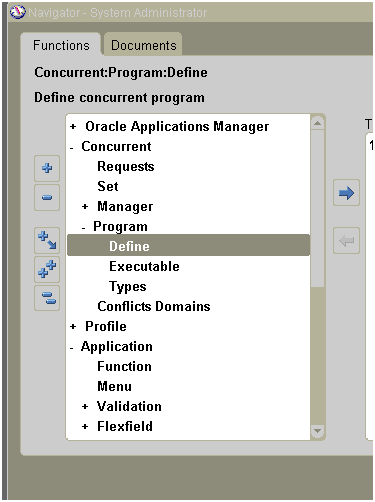
Show Navigator Icon:
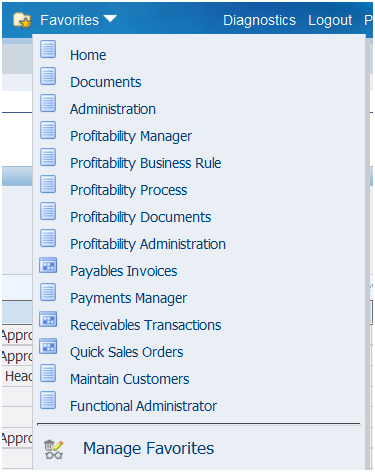
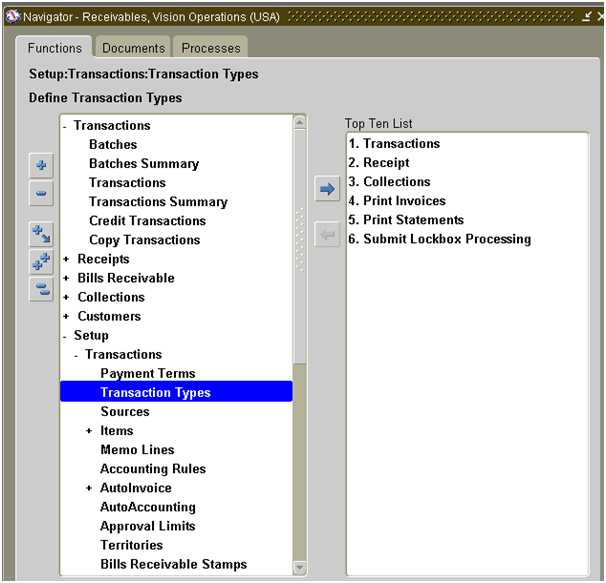
Clicking on this will take you to the Navigator window. Navigator is nothing but a list of forms and pages that you can access using the responsibility you are in.
Switch Responsibility Icon: 
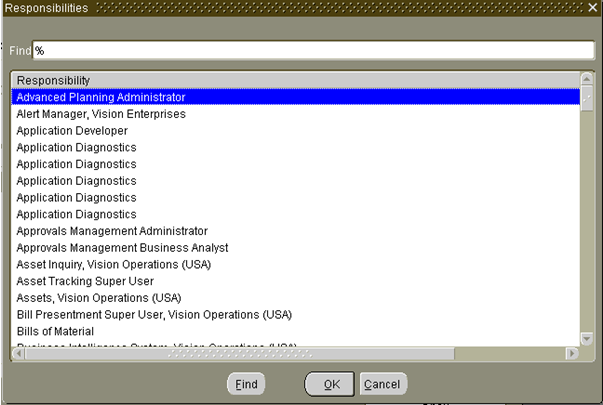
This lets you to switch to another responsibility. Clicking on this will open a window which lists the responsibilities you are allowed to access. Enter a valid responsibility name in the “Find” field and click on “OK”. This will take you to that responsibility.
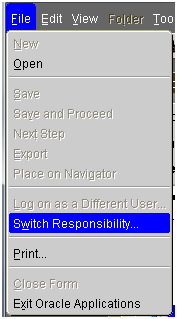
You can also switch responsibility by going to File > Switch Responsibility
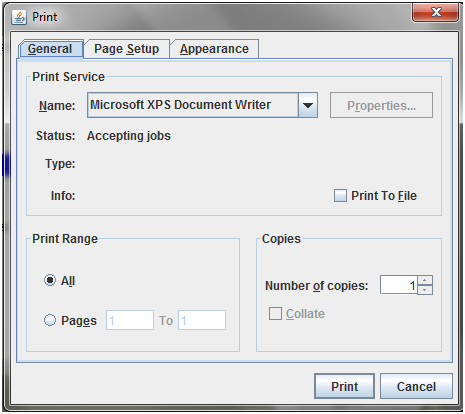
Print Icon: 
This will print the current page.
Cut Icon: 
This icon will be enabled only when you are entering some values for the fields in the form. This is used cut any entered text.
Copy Icon:
This icon will be enabled only when you are entering some values for the fields in the form. This is used copy any entered text.
Paste Icon: 
This icon will be enabled only when you are entering some values for the fields in the form. This is used paste any copied text.
Clear Record Icon: 
This icon will clear the entire text that has been entered so far in the form.
Delete Record Icon: 
This icon will let you delete the current record that is currently displayed in the form.
Close Form Icon:
This will let you close the current form that you are on.
Help Icon: 
This will open up a new window that has detailed information about the form.
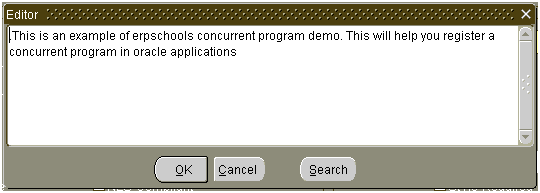
Edit Field Icon: 
This will help you edit a particular field. You can directly edit the text in the field by placing the cursor in the field. If the text is too long, only a part of it shows up in the field and when you click on this icon, all the text will be seen in a new window as seen in the below screenshot where you can edit the text easily.
Export:
If you wish to export all the records that are displayed in your current form to your desktop, you can do that by going to File > Export.
Steps to query a particular record from any form:
There are two ways you can do this.
Way 1: If you want to query a concurrent program named “erpSchools Demo Concurrent Program”, follow the below steps.
Navigate the Concurrent Programs window
To query either you can go to View > Query By Example > Enter Or Click F11 (keyboard shortcut)
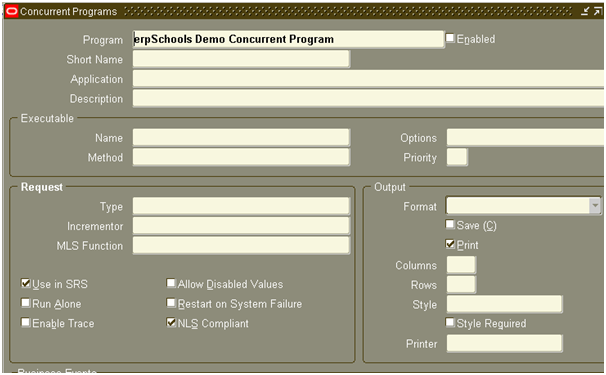
Now the form will appear in query mode as seen in the below screenshot. At this point, you can enter all your search criteria based on which the form will pull up all the records that satisfy the conditions specified.
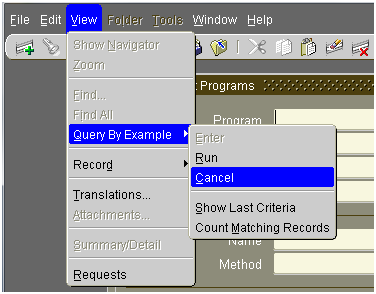
Once the form is in Query mode and if you want to come out of it, you should go to View> Query By Example > Cancel. Keyboard shortcut for the same is F4.
Since you want to query for the concurrent program “erpSchools Demo Concurrent Program”, enter “erpSchools Demo Concurrent Program” in Program field.
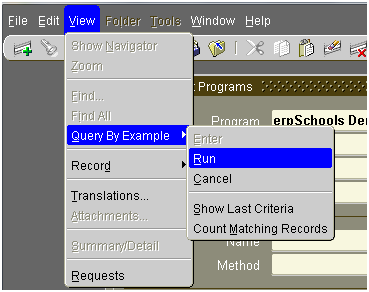
Go To View > Query By Example > Run. Keyboard shortcut for the same is CTRL F11
Based on the criteria you enter during the query mode, all the records that satisfy will be pulled up and displayed.
To traverse to the other records that have been pulled up, click the Right and Left arrows on the keyboard.
To get to the first and last records, you can go to View > Record > First / Last
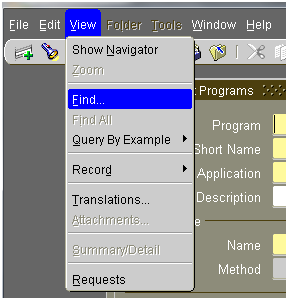
Way 2: Alternatively you can pull up the concurrent program by going to View > Find or by clicking on the Torch Icon highlighted in red in the below screenshot.
Find Window will show up.
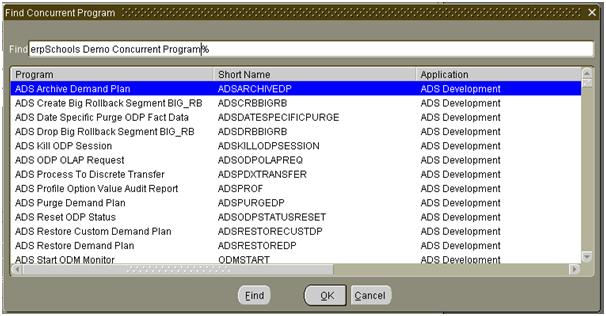
Enter the concurrent program name whose details you want to pull up and click on Find button.
All the details of the concurrent program will be pulled up.